Showing posts with label baking. Show all posts

Saturday, September 15, 2012

Happy Rosh Hashanah: Pecan Rugelach

I have a love-hate relationship with rugelach.  I love to eat them, but I hate that they're traditionally made with walnuts.  So, that means if I want them, I'd need to bake them.  Fortunately, I'd like to bake!

Before we get there, you may ask, what is rugelach?   It's a rolled cookie of deliciousness.  Flavors you often see are chocolate, raspberry or apricot.

I've never attempted rugelach, but this Made Just Right Vegan Rugelach recipe inspired me.  It uses Earth Balance, vegan cream cheese and whole-wheat pastry flour for the dough.  The recipe gives the option to make apricot or chocolate rugelach.  When I asked my husband which one he wanted me to make for dinner at his grandmother's, he said both, so that's what I did.  He also said "You're not going to tell my family that they're vegan, right?"   I said "I don't have to . . ." which in me speak may end up being "I will wait until they tell me how delicious they are and then tell them!  Bwahahahaha!" 

The recipe suggests chilling the dough for two hours overnight, so I made the dough in my food processor last night and set my alarm to get up early this morning to bake them.  "You're getting up early, like a professional baker!" said husband.  Somewhere, my mother is reading this and asking "Who are you and what have you done with my hibernating daughter?"  A morning person I am not.  But, rugelach calls!  I even got up happily before the alarm went off. 

This morning, I made the filling, again using my food processor, halving the recipe amounts for each option.  For the apricot versions, I used Clearbrook Farms Apricot Preserves and pecans.  For the chocolate, I used Enjoy Life Semi-Sweet Mini Chocolate Chips, pecans, cinnamon and Truvia, using the handy dandy Truvia conversion chart (Truvia being much sweeter than sugar, you don't need as much).

Rugelach, pre-baking
The dough is very sticky, so I used lots and lots of flour when rolling it out.  I realized that one of the reasons pie crust has been my nemesis is that I've been skimping on the flour.  So, let me paraphrase my mother, who, when I wrap gifts, often says "Don't skimp on the scotch tape!"  Don't skimp on the flour! (Hi, Mom - you're getting lots of shout outs today!  Want me to overnight you some rugelach?)

The apricot rugelach rolled easily enough, as the preserves acted like a glue.  The chocolate ones were a little more delicate, as the ingredients were entirely dry.  Have your baking sheet right next to your work area to minimize spills.

The recipe called for baking the rugelach for 20 minutes at 350, but our oven, for lack of a better word, sucks, so we went a little longer (three minutes or so).  I put them on a wire rack to cool for 15 minutes or so, and then sliced them and let them cool for longer.  The chocolate sliced more easily than the apricot.

We did a quick taste test - both came out yummy, but I think I prefer the chocolate cinnamon.  We'll see what the family thinks tonight!

Wednesday, November 23, 2011

Blueberry Rhubarb Pie and Vegan Mashed Potatoes

My final two cooking projects for Thanksgiving were dessert and another side, both vegan!

I did an informal poll of my friends on Facebook to see what pie I should make for Thanksgiving.  My friend Matt suggested blueberry rhubarb, and I thought that sounded great.  I found this Cooks.com recipe to serve as my guide.


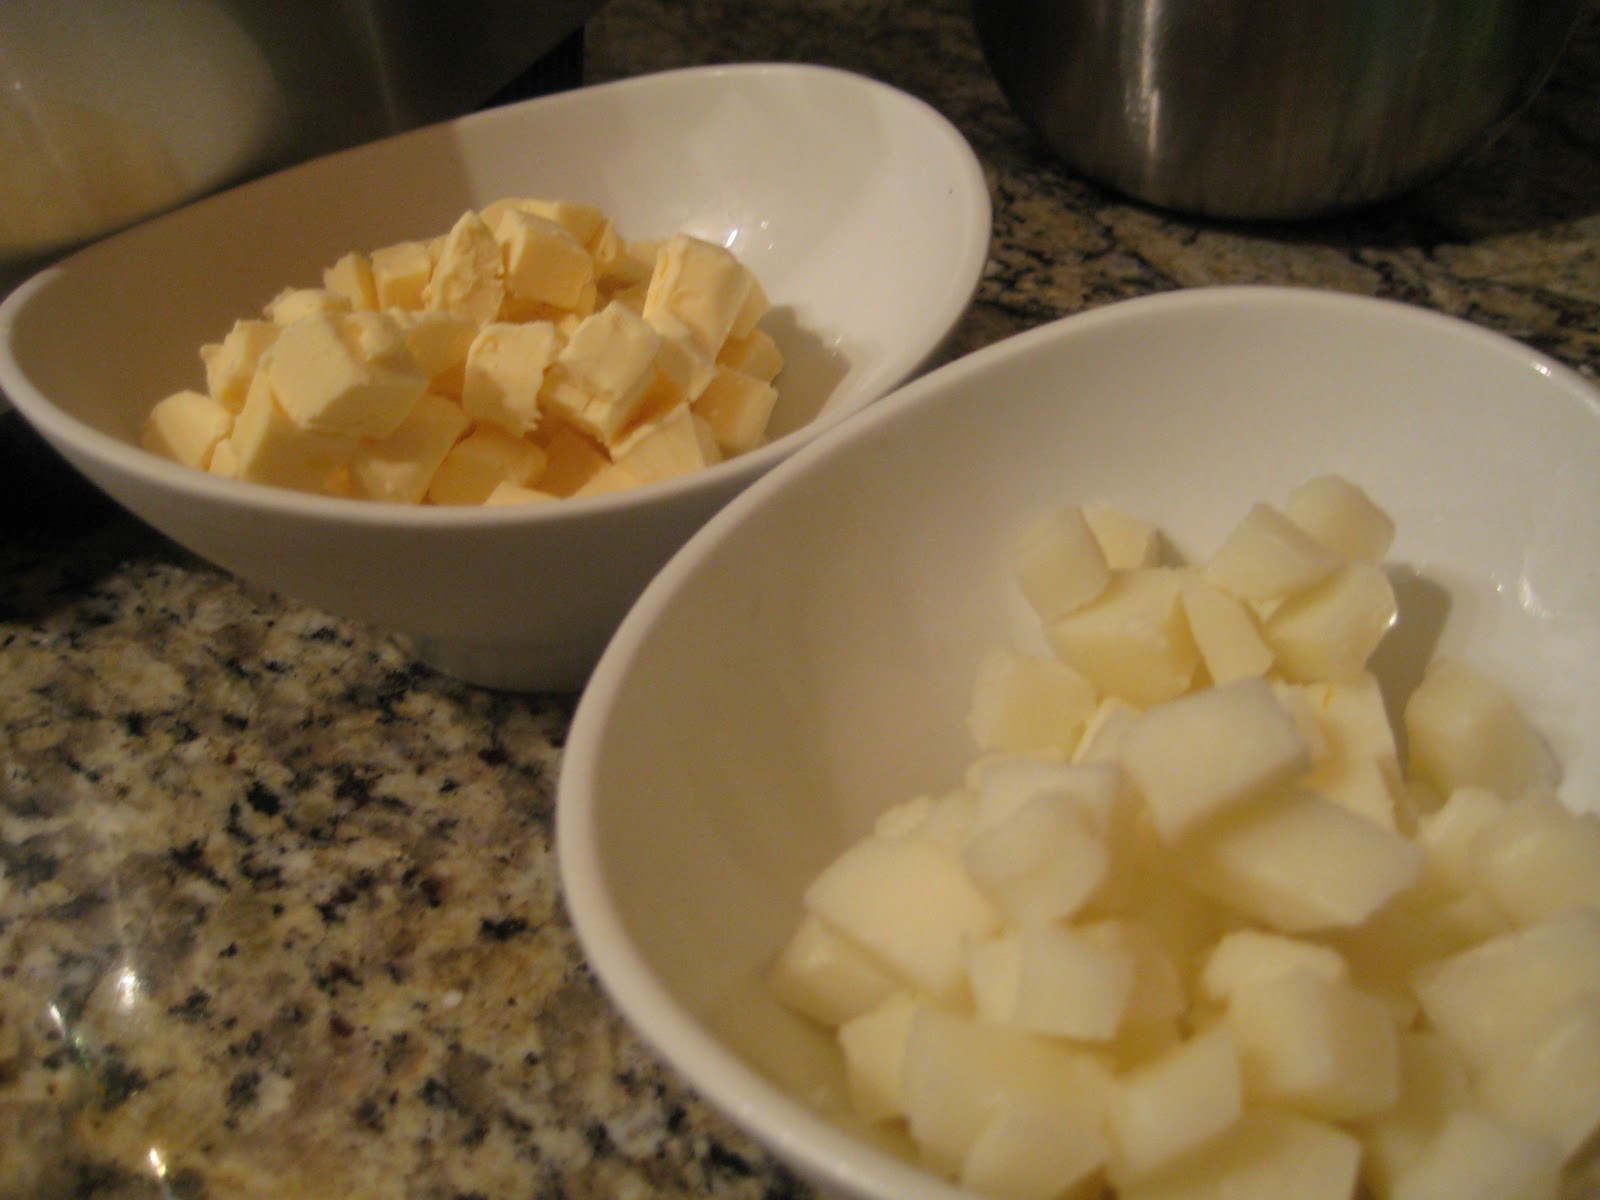
For the crust, I used the vegan Buttery Double Crust recipe from the November 2011 issue of Yoga Journal, which comes from Isa Chandra Moskowitz and Terry Hope Romero's Vegan Pie in the Sky.  The recipe isn't currently online, but it calls for flour, salt, sugar, vegan margarine, vegan shortening and cider vinegar.  I used Earth Balance buttery sticks and vegetable shortening.  Both of them contain soy, but I'm hoping that the small amount of pie I'll have won't knock me over allergy wise.  I used my food processor to make the dough for the crust, rather than cutting in the "butter" and shortening by hand.  I did cut the "butter" & shortening into small cubes first, and then put those cubes in the freezer for a bit to firm them back up.

For the filling, I essentially followed the recipe above, except I used the converted amount of truvia, rather than sugar.  I used fresh blueberries, but rhubarb is completely out of season, so I used frozen rhubarb from Stahlbush Island Farms.  I've used their frozen rhubarb before and it turns out quite well.  I also omitted the butter dotting on the filling - I was planning to use Earth Balance, but I completely forgot to add it in before I put the crust on top.

As usual, I had issues getting the crust to roll out properly.  I used the pastry board my parents  got me, and put waxed paper over the dough, but it still took me two tries to get it not to stick.  I'm sure someone has a suggestion they would be happy to share with me (hint hint!).  And, as also usual, I had to piece together the bottom and top crusts after the dough broke.  Thus, I refer to this pie as "Franken-Pie," due to the repair job I did on the top.

I did manage to do cut outs on top of the crust.  I have some small leaf cookie cutters that work well for this purpose.  I then used a knife to score the dough pieces to make them more leaf like.  Finally, I brushed the pie with almond milk to help the pie brown.  I used  my pie shield for the first 35 minutes of baking, and then removed it for the final 15 minutes.

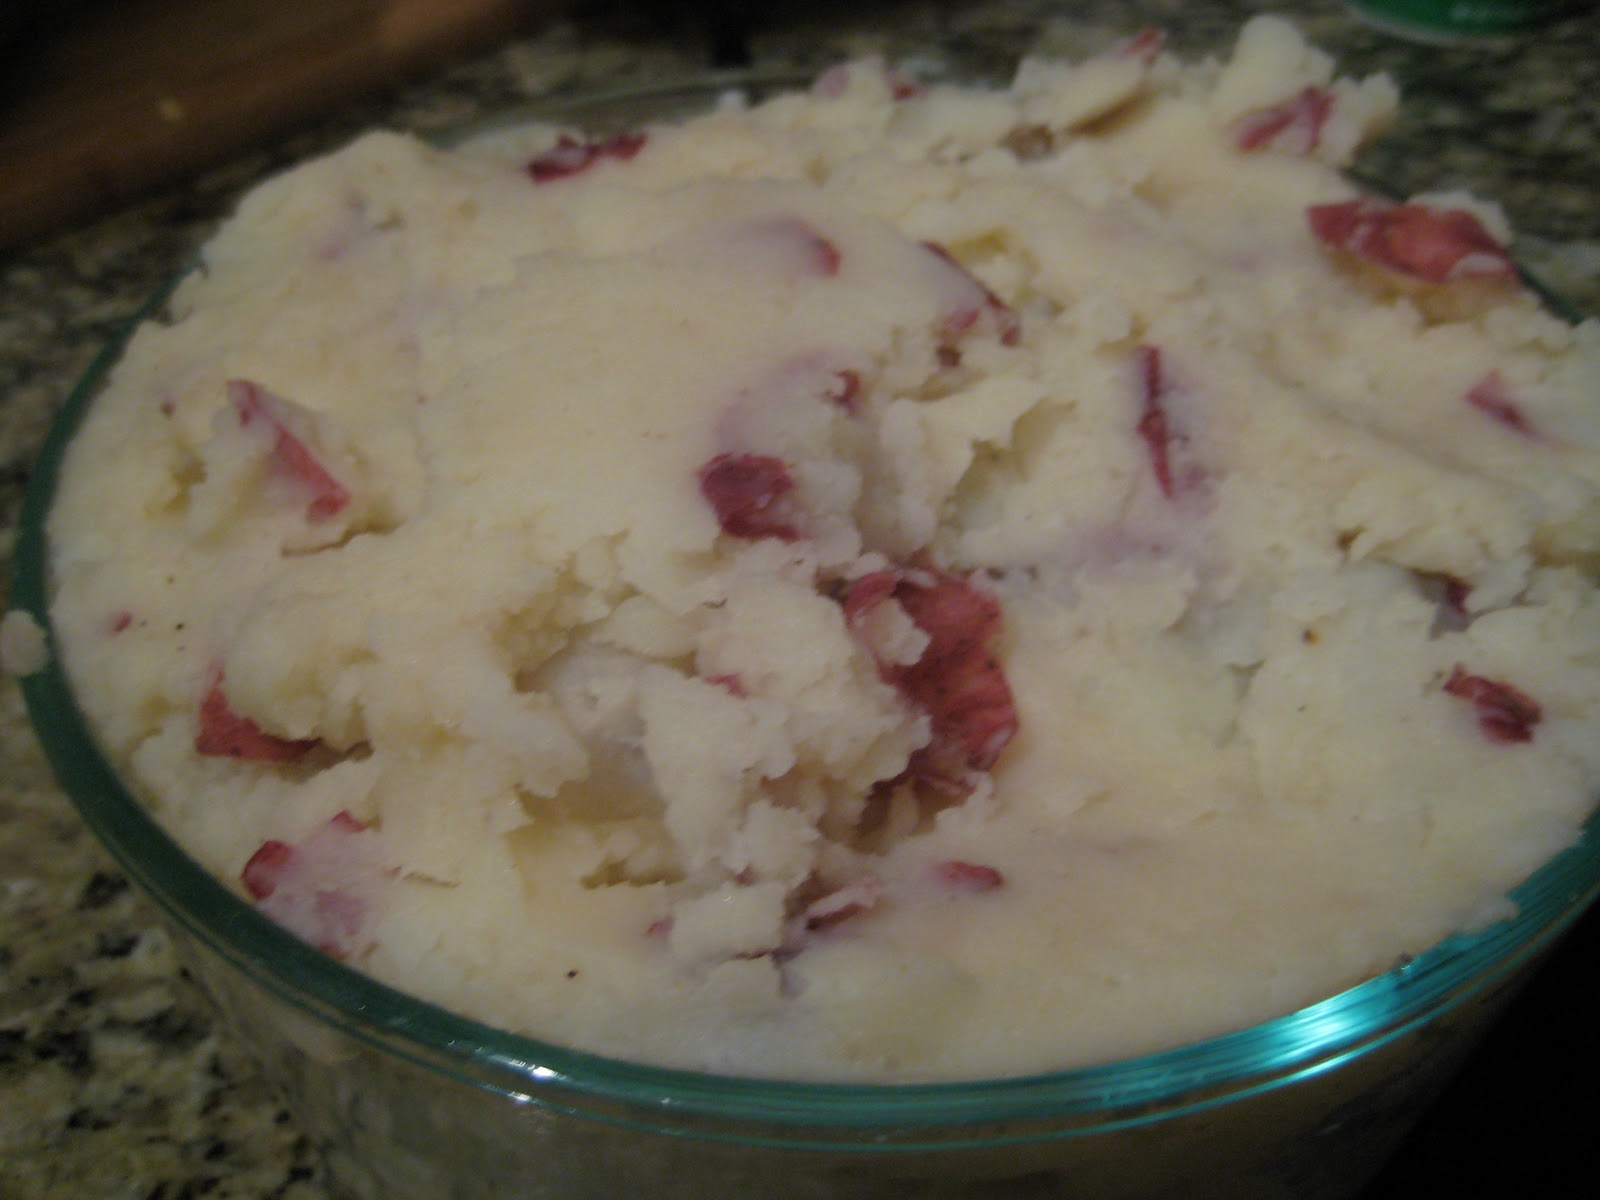
Fluffier than they look - they're crammed in this bowl!
For the vegan mashed potatoes, I took 3.7 pounds (yes, a weird number  - that just happens to be what they weighed out to) of red potatoes, quartered them, and boiled them in our giant seven quart pot for 25 minutes.  In the past, when I've made a huge amount of mashed potatoes, I had to use multiple pots, so it was nice to only have to do them in one.  Once the potatoes were done, I used my yoga cultivated upper body strength to drain the potatoes, and then I mashed them with soy-free Earth Balance, plain almond milk and generous shakes of sea salt and freshly ground black pepper.  Mom tasted them and said the almond milk added a touch of sweetness that she liked, and that they weren't as heavy as mashed potatoes made with a ton of dairy products.  I think I may need to re-season them when I reheat them tomorrow, but I'll play it by ear.

So, that's all of my Thanksgiving cooking!  We'll see what the verdict is when our family gets to taste everything tomorrow.  Until then, have a happy and healthy Thanksgiving!!!

Monday, July 4, 2011

Four Layer Chocolate Raspberry Cake

This weekend's dessert experiment was a four layer chocolate raspberry cake.  I used the fail-safe Real Simple magazine chocolate cake recipe and chose the chocolate sour cream frosting.  I wanted to do something different with the filling, but wanted to make sure I used a fresh produce item, so I found this recipe for fresh raspberry filling. 

I split the cake making process into two days so that I wouldn't be running around my kitchen screaming this morning.  Yesterday, I made the cakes and the filling.  I've always read about the need for butter and eggs to be at room temperature for baking, but never bothered to consider why.  Just so you know, according to Joy of Cooking, having butter at room temperature allows for the butter to be properly aerated, which helps with the leavening process.  So, if you want light and fluffy cakes, let your butter and eggs sit out awhile.  Mine hung out on the kitchen counter at least an hour before I started the batter.

Layers, pre-splitting.
While the cakes were baking, I made the raspberry filling.  In hindsight, I didn't need the whole recipe - halving it would have been more than sufficient.  When cooled, both the cakes and the filling went in the fridge overnight.


This morning, I made the chocolate icing.  I melted a package of semi-sweet chocolate chips in a double boiler.  A double boiler is an insert you place over a shallow pan of simmering (not boiling!) water.  This way, you can melt the chocolate without scalding or burning it.  If you don't have a double boiler, you can also use a metal mixing bowl - just be careful lifting it off the pot of hot water.  I'm shocked I've never spilled molten chocolate or 150 degree water on myself pre-double boiler.

Melting chocolate in a double boiler.
One issue I have with recipes featuring sour cream is that we always have some left over, and we rarely, if ever use it.  So, for the icing, I decided to sub something we always have in the house and eat frequently, Fage Greek Yogurt.  The tang and consistency is similar to that of sour cream, so it worked just fine for the icing.  Considering that there were three (yes three) cups of confectioners sugar in the icing, it definitely needed something to cut the sweetness.

Since we had oodles of filling, I decided to split the layers on the cake.  To do this, I used a cake leveler.  I've split layers with a bread knife before, but a cake leveler gives you much more precision, and it's only $3.29.  So, if you think you'll be baking a decent amount, it's not a bad investment.  You can also use it to level out the tops of a cake if you are putting a lot of care into decorating it, but, given that it takes all of my precision not to drop the frosting on the floor before it gets to the cake, I don't bother.  I did make one of the layers much thinner than I intended, but once it's in the middle of the cake and iced, no one needs to know . . .

Cake in cross section.
One smarty pants thing I did this time, per the suggestion on the packaging for the cake leveler, was to put some waxed paper under the edges of the cake as I filled and iced it.  When I was done, I removed the wax paper and there was no evidence of my usual dripping and spattering.

I garnished the cake with fresh raspberries and stuck it in the fridge for awhile so it could handle the car ride and being out on the table.

The verdict - nice and chocolately, but not overly sweet.

Sunday, June 19, 2011

Happy Father's Day! Black Bean Burgers & Peach and Berry Pie


This Father's Day, my parents, my fiance & I headed to my soon to be in-laws for a BBQ.  My favorite vegetarian barbeque recipe is my version of the black bean burgers from Tosca Reno's Eat Clean Diet Cookbook.  My tweaks include using one whole egg instead of two egg whites, kale instead of celery leaves and extra sunflower seeds instead of flax seeds.  I also leave out the curry powder, since I don't usually have that in the house.  The recipe is super easy - dump everything in a food processor, mix well and bake. They reheat exceptionally well in an oven or toaster.  Microwaving them might make them a bit soggy.

For dessert, I made a peach, blueberry and raspberry pie based on a peach & blueberry pie recipe in a cookbook we just refer to as "The Book."  "The Book" never fails to produce hit desserts.  It's actual title is Baking, by Martha Day.  The one catch is that all of the amounts are written in ounces, so you either need a kitchen scale or a desire to do a lot of math.  There are also websites that do conversions for you - just remember that there are different conversions for dry and liquid measures.

One different thing I did with this pie versus the previous pies was to make the crust in our brand spanking new 14-cup Cuisinart food processor.  Previously, I've made pie crust by hand using a pastry blender, as well as in our Kitchen-Aid mixer.  Having sampled multiple versions of my pie experiments, my family said the processor made the best crust, and I'd have to agree.  The blades help the butter incorporate much more evenly into the flour, and the ice water mixes in quite nicely as well.

Fresh fruit pies can be super juicy, so if you do make one from scratch, put a cookie sheet under it to help catch drips and spatters.  You also might consider wrapping the edges in foil or using a pie shield to prevent the edges from burning, especially if your pie takes more than a half an hour to bake.

Sunday, May 8, 2011

Mother's Day Dessert: Pear and Cherry "Pocket Pies"

For family gatherings, I always like to bring dessert.  This Mother's Day, I was planning to make a fruit pie, but, while I was flipping through channels Saturday afternoon, I came across Dessert First on Food Network.  On that particular episode, the host was making "pocket pies" with almond, cherry and pear filling.  I've worked with puff pastry before, and I decided it would be a good treat.

Being a lazy pants, I didn't measure the pastry as carefully as Anne did, so, at first, I ended up with seven pocket pies for eight people.  Oops.  So, one got cut into two.  They ended up being so huge that everyone ended up having half of one.  I also added a little water to the egg wash, and upped the amount of cherries in the filling, since I was serving it to some cherry fans.

My mother has requested a pear and blueberry pocket pie when she's in the area next, so keep an eye out for it!

Puff pastry is actually quite easy to work with - look for it in your freezer section.  Whole Foods carries a brand without a lot of additives  - it's just butter and unbleached flour.  Keep it frozen until you want to use it, and you can either defrost it in the fridge or on your counter.  The counter was my preferred location, as I am impatient.

You can also use this for savory dishes - I bet it would be particularly good with tomatoes, mushrooms, spinach and feta.  It's not vegan, given how loaded down it is with butter, but vegetarians can enjoy it.

Monday, April 18, 2011

Adventures in Passover Baking Edition, aka - I screw up, I throw a tantrum, I fix it, I reclaim my title as baking wunderkind!

Yes, it all turned out JUST fine.
My cousins invited me to join them tonight for Seder.  Since I have been on a baking roll lately, I offered to make the dessert, specifically the paerve Lemon Layer Cake from last week's Washington Post food section.  Paerve was key, as my cousins keep kosher and are serving meat for dinner.

The recipe started off easy enough.  I make pastry cream all the time, so the lemon "cream" (eggs, sugar, lemon juice and lemon zest) was a no brainer.  And whipped cream icing, which is normally the source of my culinary temper tantrums, was blissful with the kitchen aid mixer.

Now, it was on to the cake.  I make cakes ALL THE TIME.  I have never effed one up.  Seriously.  Perfect track record.

I do believe we see where this is going.

The recipe called for separating the eggs.  No problem.  Then it called for combining the yolks, sugar, lemon, etc. and then beating in the matzo cake meal and potato starch.  No problem - into the mixer.  Ah, but I have to beat the egg whites in a separate bowl.  And I only have one bowl for the Kitchen-aid . . . Hmm.  I don't feel like dragging out the hand mixer.  Surely I can get these nice and frothy by hand.  So, I sat there whipping the egg whites with a whisk and feeling very proud of myself.  Look how strong my arms are - I barely feel this!  It must be all the chatarungas I do in yoga!  I don't need modern machinery!  I can whip egg whites!

Do we see where this is going yet?

If not, behold what I had 45 minutes later:


Yes, ladies and gentlemen, behold the Guiness Book of World records winner for the largest passover cookie.

Now, as a yogini, you think I would handle all of this with grace and strength.  I would acknowledge it as a teaching experience.

Not so much.

To recap - I tried to convince the fiance that I needed to start over that night.  He said that it was 10:30 and we were out of sugar and my relatives would be fine with the cookie.   Cue minor temper tantrum. 

So, I decided to instead bump up my work departure time an hour to attempt a cake remake so as not to show up at a Seder for 27 people with no dessert, or worse, a soggy cardboard cookie.  This morning, I bought eggs at CVS so they'd be at room temp by the time I got home, and, once I got back to my neighborhood, I ran to the local market for more lemons and sugar.  This time, I used the hand mixer for the batter and beat the egg whites into a veritable nimbus cloud in the mixer.

See the difference?

Not well beaten egg white cake

Well beaten egg white cake.

 
Cookie on the left, cake on the right.

After some time in the freezer, I was able to get the cake into two layers.  I didn't dare attempt three.

Still fairly scrawny looking, but fluffier in person.

So, after adding the lemon "cream" filling and mixing the leftover "cream" with the whipped topping and then frosting and decorating, let's look at the final result again:

Saturday, April 16, 2011

Real Simple Yellow Cake with Strawberry Filling and Vanilla Icing

The May issue of Real Simple has a neat article with multiple cakes, frostings, filings and toppings.  The recipes can be converted into sheet cakes, layer cakes and cupcakes, and allegedly there are over 256,000 potential cakes that can be made from this article.

I decided to go with the yellow cake, strawberry filling, vanilla icing and fresh strawberry topping, with the following changes:
  • I realized at the last minute we had no baking soda (oops), so I added more baking powder.
  • I accidentally liquefied the strawberries instead of just pulsing them (oops again), so I chopped up some additional fresh strawberries and added them to to the filling
  • I skipped the glazing of the topping (and you can make do with less than a quart - I had a lot leftover.  Fortunately, we like strawberries).
Here's some step by step documentation:

Cakes cooking on wire racks - I didn't drop them.  YAY.
The recipe said the cakes should take 22-25 minutes.  I felt mine needed to go a little longer in my oven.  Also, I was glad I took the time to butter the pans, add parchment, and butter again.  After the prescribed 15 minute cooling time in the pans, they slid right out onto the racks without breaking.


The filling that ate North Bethesda
 Next came the filling - thanks to my pureeing mishap, it was probably gooier than I intended.  Putting it in the refrigerator for 30 minutes before I frosted, like the recipe suggested, was a smart move.  Especially since the stuff kept falling on my feet.  I looked like something out of a George Romero movie.


VOILA - CAKE!

The finished product!  The gooey filling make my icing a little pink, but I think it's pretty (that's what I'm telling myself anyway) and the little strawberry bits offset the pact that there is a pound of confectioners sugar in the icing. 


A couple of baking tips I used here that I generally find helpful:
  • Get a mesh strainer if you don't have one - it's great for sifting flour and confectioners sugar.  I have one with two little hooks on it so you can rest it on a mixing bowl and pour your dry ingredients right into the strainer without jugging the whole shebang.
  • When cutting parchment paper to fit a round cakepan, make little snips around the side in the shape of the circle, take it off the pan, and connect the snips.  I felt like a genius when I did this today.
  • If you are going to make your own buttercream, have a good mixer.  I tried making buttercream a few years ago before I had the stand mixer and my hand mixer made horrible, gasping sounds.  It also helps when the butter is a room temp.
  • Speaking of room temp, yes, like the recipe says, eggs and butter should be at room temp when you bake.  It really does make a difference in how well everything comes together.

Sunday, April 10, 2011

Sunday Blog 1 of 2: Sophie's Caramel Apple Pie

It's been a busy culinary Sunday, so there will be two blogs today.

Blog #1 is baking related.  Technically it's vegetarian, and it does have fresh produce, so I feel ok sneaking it in here . . . Anyhow, I had a contest at work where I promised the winner a homemade fruit pie.  Sophie was the winner, and her flavor of choice was caramel apple.

So, I set upon making this recipe from The Washington Post.  I had made it a few years ago for my fiance's grandmother's birthday, so I knew it was tasty.

 I used Macintosh apples, even though the recipe calls for Granny smith.  Why?  Because my mother's edict is that Macintosh is always the #1 choice for baking, and Mom does know best.  The caramels are Kraft. 

For the crust, I used my Kitchen-Aid.  I made the crust last night to save time tonight (more on that later - meaning it's 10:00 p.m. and the subject of blog #2 is bubbling in the oven with 30 minutes to go and it still needs to rest 20 minutes after that  . . . a long night it shall be).


I made the topping with a pastry blender.  If you bake a lot, it's a handy dandy tool.  You can also use two knives if you prefer to do that.

I skipped doing the cutouts on the top.  I rarely roll out my pie crust thin enough (I need to work on that) to get my crust over the edge of the pie pan, much less for the extra cutouts called for here.


After an hour bubbling in the oven, here's the end result:


To the office it will go tomorrow!  Sophie, I hope you enjoy!!!